Heart Bunting - Part 1
Good Morning Crafters
Happy Wednesday to you all!
Today we are sharing part 1 of the beautiful heart bunting that our Lou has created.
Products used are from the Personal Impressions website.
To find a stockist near you check out the stockist locator on the website home page.
Here is part one of my Heart Bunting display and explains
how I have decorated the large hearts from the Decopatch Heart bunting. Part
two will show how I decorated the smaller hearts and how I have displayed the
banner, plus will reveal my secret, interactive extra!
You will need the following for this project:
You will need the following for this project:
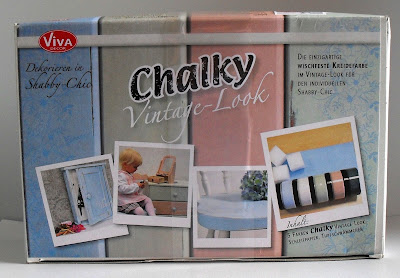
Viva Décor Chalky Vintage look paints
Ultimate Crafts Summer Breeze Embossing Folder
Kaiser Craft "Oh So Lovely" sticker sheet
Decopatch heart bunting
Personal Impressions white card
Ultimate Crafts Summer Breeze Embossing Folder
Kaiser Craft "Oh So Lovely" sticker sheet
Decopatch heart bunting
Personal Impressions white card
From my Stash
5 wooden pegs
Step 1
Paint the large hearts with Weib (white?) chalky vintage look paint. I applied a thin coat of the paint to create a vintage/shabby chic look.
Step 2
Using Altrosa chalky vintage look paint, apply to the
raised side of the Summer Breeze Embossing folder
Step 3
Place the large paint heart on the folder and press
(similar to as if you were stamping) and transfer the design on to your painted
heart.
Step 4
I wanted to add smaller hearts to my larger hearts but
was very reluctant to use the smaller hearts from the Decopatch bunting, so
drew around one of the smaller hearts as a template. I then cut out 5 hearts
(using PI white card) and embossed them with the Summer Breeze embossing folder ... however before
I embossed the hearts, I painted the inside of the Summer Breeze folder with Atrosa
vintage chalky look paint. This both paint and embossed my hearts in one go.
Step 5
Using the excess Altrosa vintage chalky look paint (on
sponge), age the Kaiser Craft "Oh So Lovely" stickers you will be
using to decorate the large hearts
Step 6
Begin by placing your painted embossed card heart
where you would like it to appear and then start layering up your stickers.
Remember, you can cut in to the designs to make them go further.
Once you are
happy with the decoration, sand the edges of the heart to adhere the stickers
to all outside edges.
Step 7
Here is one of my decorated hearts showing where I
placed the peg and also the word stickers.
Step 8
I have decorated all the remaining large painted
hearts using the same embossed smaller card hearts, Kaiser Craft stickers and
decorated wooden pegs.
Now watch this space for the second part of my project where I add the smaller Decopatch hearts, create and display the bunting and show the interactive part ...
Thank you for stopping by Today!


Absolutely beautiful x
ReplyDelete